


Want to add a new WordPress user but don't have access to your Admin panel? Follow this guide to learn how to create one through phpMyAdmin.
Before We Begin
Before you make any changes to the WordPress database, we STRONGLY recommend you create a backup of your WordPress database. This can be done through the cPanel Backups interface or through phpMyAdmin itself. We are directly adding new information to the database and if there is a mistake, this can cause unknown issues to occur with your WordPress installation. Please take care when following along with this to ensure that you do not modify something that is not intended. If you aren't comfortable following this process, please feel free to open a Support ticket in the client portal and we'll be happy to do this for you.
Getting Started with phpMyAdmin
To begin, you will first need to login to your cPanel account. You can do this by accessing your hosting package within the ExiaHost client portal (https://www.exiahost.com/clients/). Once logged in to cPanel, use the search bar at the top to search for "phpMyAdmin". This should bring up one result - click on this and you should see a screen similar to the following:
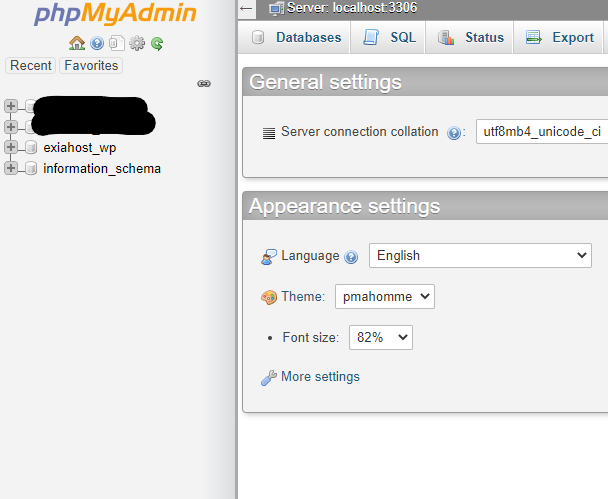
If you only have one WordPress installation, yours should be something like what's listed above (the database name format is your cPanel username _ table prefix). If you have multiple installations or you want to confirm, you can verify the correct database and table prefix by looking at the wp-config.php file for your associated installation (which can be viewed in the File Manager utility in cPanel). Once you have determined which database to manage, click on it to make it the "active" database for any changes.
Adding the User
The next thing we'll do is create the new user. Click on the "wp_users" table - you should see something like this when you do that:
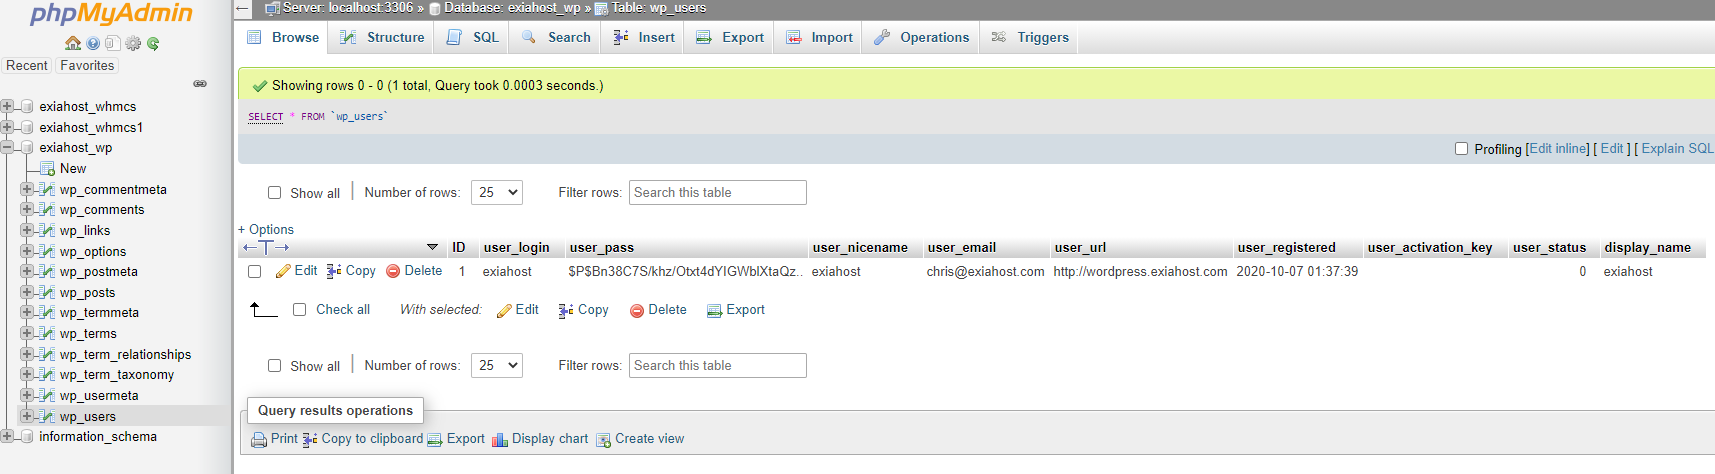
Note the value in the "ID" column - we'll need to make sure we don't reuse the same values that are listed here.
There are two ways to create a new user with this method - the first is by using the Insert tab at the top, the second is by using the SQL tab. Let's look at the Insert tab first.

Enter the following information so that it looks like the above (replacing the values you want with your own settings):
- ID
- Make sure this is a unique value
- user_login
- This is the username to login to WordPress
- user_pass
- Make sure to select MD5 in the dropdown otherwise this will not work properly.
- This is the password for the user account
- user_nicename
- This is the username displayed within WordPress
- user_email
- This is the email associated with the user account
- user_url
- The URL associated with the user. Typically set this to the current domain
- user_registered
- Optional - defines when the user was first created
- user_activation_key
- Leave this blank
- user_status
- Ensure this is set to 0
- display_name
- Your first and last name that will be added to posts
Double check everything is entered correctly and then click on Go at the bottom. This will create a new user that can login to WordPress. We aren't quite ready to login to the Admin panel yet though.
Adding User Permissions
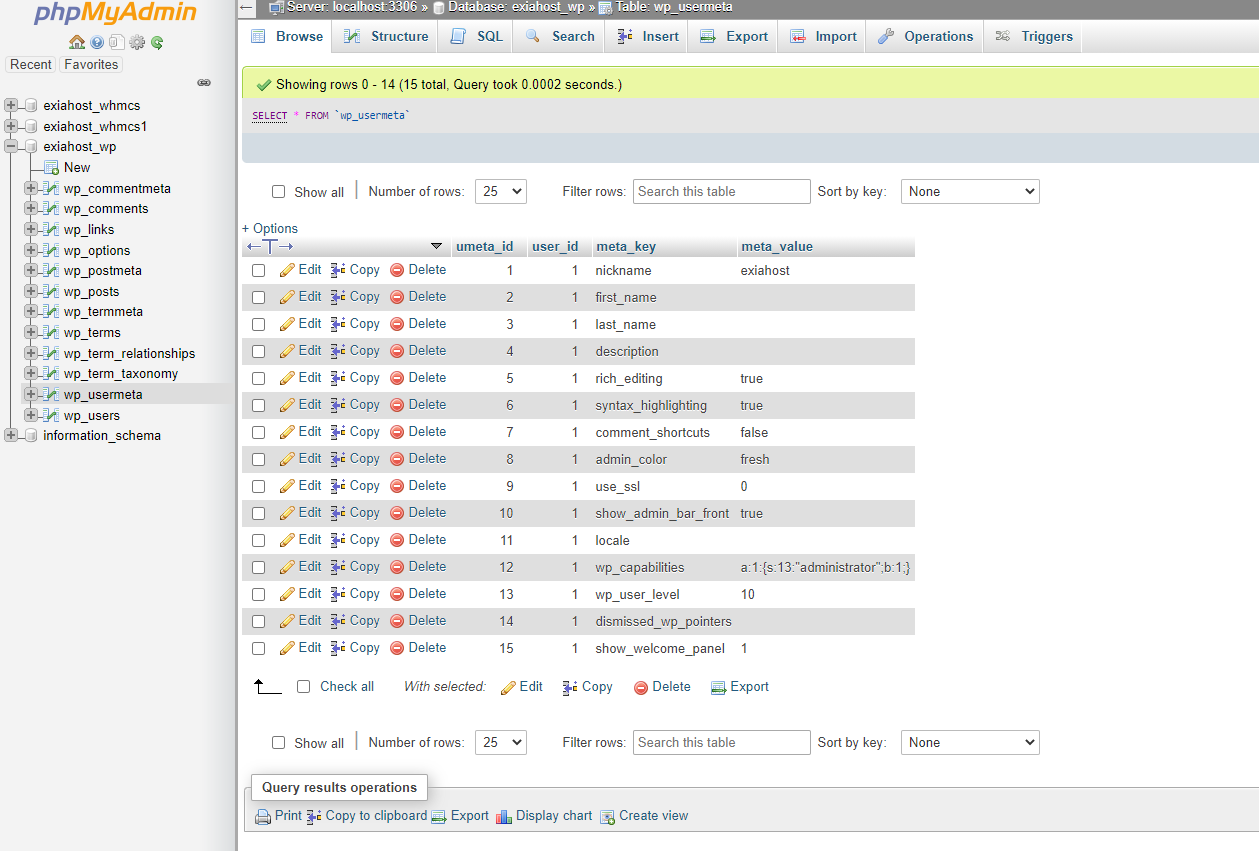
Now we need to update the user permissions to set our new user as an Administrator. Click on the table "wp_usermeta" in the list on the left, you should see something like this:
Like before, click on the "Insert" tab at the top to be greeted with the following screen:
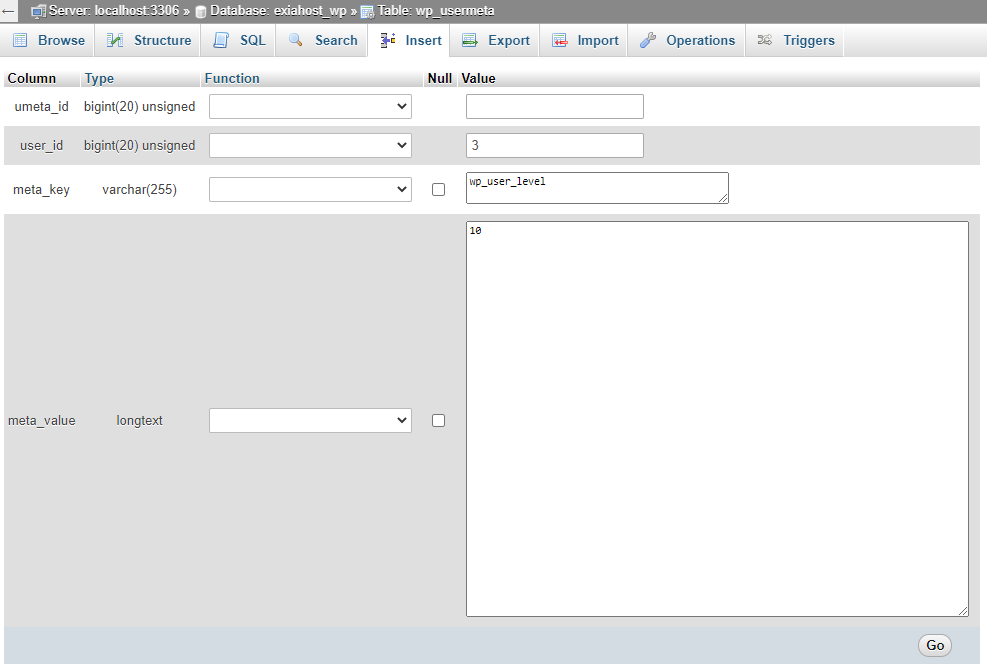
In this case we will need to make two updates. For the first one add in values for the following:
- umeta_id
- Leave this blank
- user_id
- This should match the user ID for the newly created user
- meta_key
- This first update should be set to wp_user_level
- meta_value
- Set this to 10
The second update will be with the following values:
- umeta_id
- Again, leave this blank
- user_id
- Same as above, match the user ID for the new user
- meta_key
- Set this to wp_capabilities
- meta_value
- Copy this exact string below
- a:1:{s:13:"administrator";s:1:"1";}
- Copy this exact string below
Add both of these values and verify there were no errors on submission. If everything worked, test out logging in to WordPress as the new user.
Adding via SQL Queries
As briefly mentioned at the beginning, we can also add a new user via a few SQL queries. This is a little bit faster than using the Insert tab. A word of caution though - if you are not comfortable with the format for SQL queries or don't want to risk breaking something, it's far safer to update this using the Insert tab. The queries below should only be run by those confident with SQL. We also highly recommend saving a backup of the database before running these commands. The queries to run are listed below:
INSERT INTO `wp_users` (`ID`, `user_login`, `user_pass`, `user_nicename`, `user_email`, `user_url`, `user_registered`, `user_activation_key`, `user_status`, `display_name`) VALUES ('2', 'demo', MD5('demo'), 'Your Name', 'test@yourdomain.com', 'http://www.test.com/', '2011-06-07 00:00:00', '', '0', 'Your Name');

INSERT INTO `wp_usermeta` (`umeta_id`, `user_id`, `meta_key`, `meta_value`) VALUES (NULL, '2', 'wp_capabilities', 'a:1:{s:13:"administrator";s:1:"1";}');

INSERT INTO `wp_usermeta` (`umeta_id`, `user_id`, `meta_key`, `meta_value`) VALUES (NULL, '2', 'wp_user_level', '10');
Make sure to verify that the respective fields are set to your values rather than the demo values that are listed here. As before, once these are complete and no errors are returned, test out the new user with WordPress.
If you run into any issues with this process, please feel free to open a Support ticket and we'll be happy to take a look!
